Choice
There aren’t many self-hosted image hosting solutions. I first used Lychee – developed in the world’s best language (PHP). After using it, I felt the features were too heavy: a bunch of features, only a few actually useful. I also had to install a bunch of image processing plugins for image scaling (which I didn’t even need).
Currently I’m using uppy. The advantage is easy deployment - one npm install solves it. The backend uses the Go version of tusd, which is even easier to deploy - just throw a binary file on the server.
Confusion & Solution
After choosing uppy, I read the official documentation for a long time but couldn’t find how to deploy uppy. I even thought uppy was the backend for uppy server. When I was at a dead end, I went to check uppy’s official example page and found that deploying uppy only requires a static page - all options are written in the <script> tag on the page.
Example page:
<html>
<head>
    <link href="/static/uppy.min.css" rel="stylesheet">
</head>
<body>
    <div>
      <div>
        <div id="dashborad-container"></div>
      </div>
    </div>
    <script src="/static/uppy.min.js"></script>
    <script>
      var uppy = Uppy.Core({ autoProceed: true })
      uppy.use(Uppy.Dashboard, { target: '#dashborad-container', inline: true, replaceTargetContent: true })
      uppy.use(Uppy.Tus, { endpoint: '/files/', uploadUrl: '/files/', overridePatchMethod: true, resume: true})
      uppy.run()

      uppy.on('complete', result => {
        console.log('successful files:', result.successful)
        console.log('failed files:', result.failed)
      })
    </script>
</body>
</html>
Screenshots:
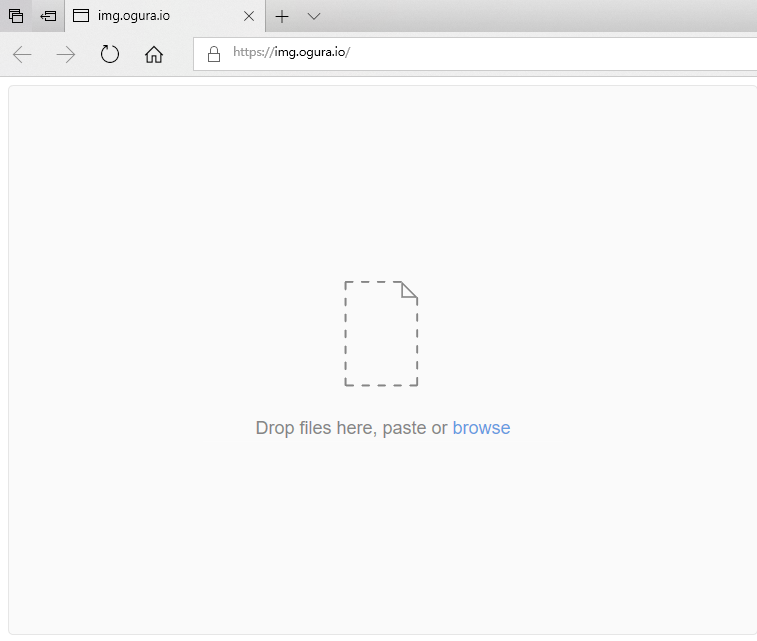
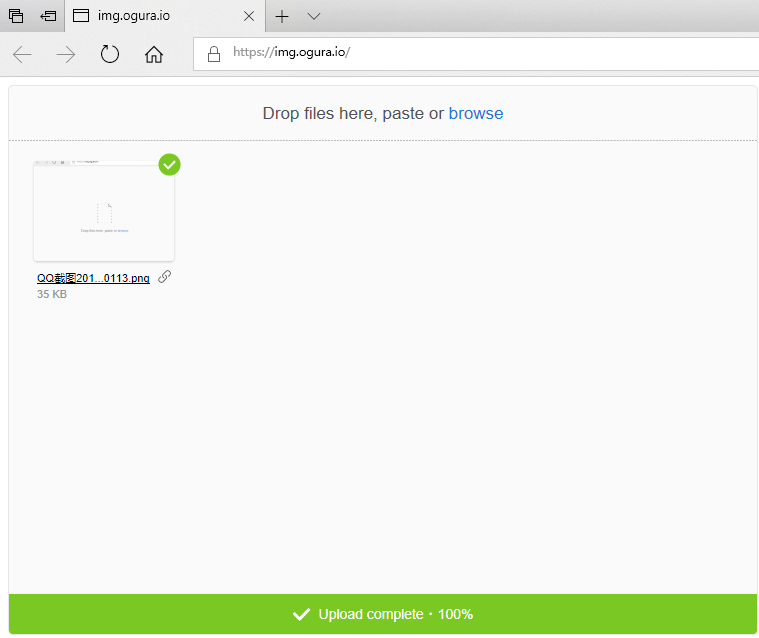
Very simple functionality: upload/generate link
